
Last updated October 30, 2026
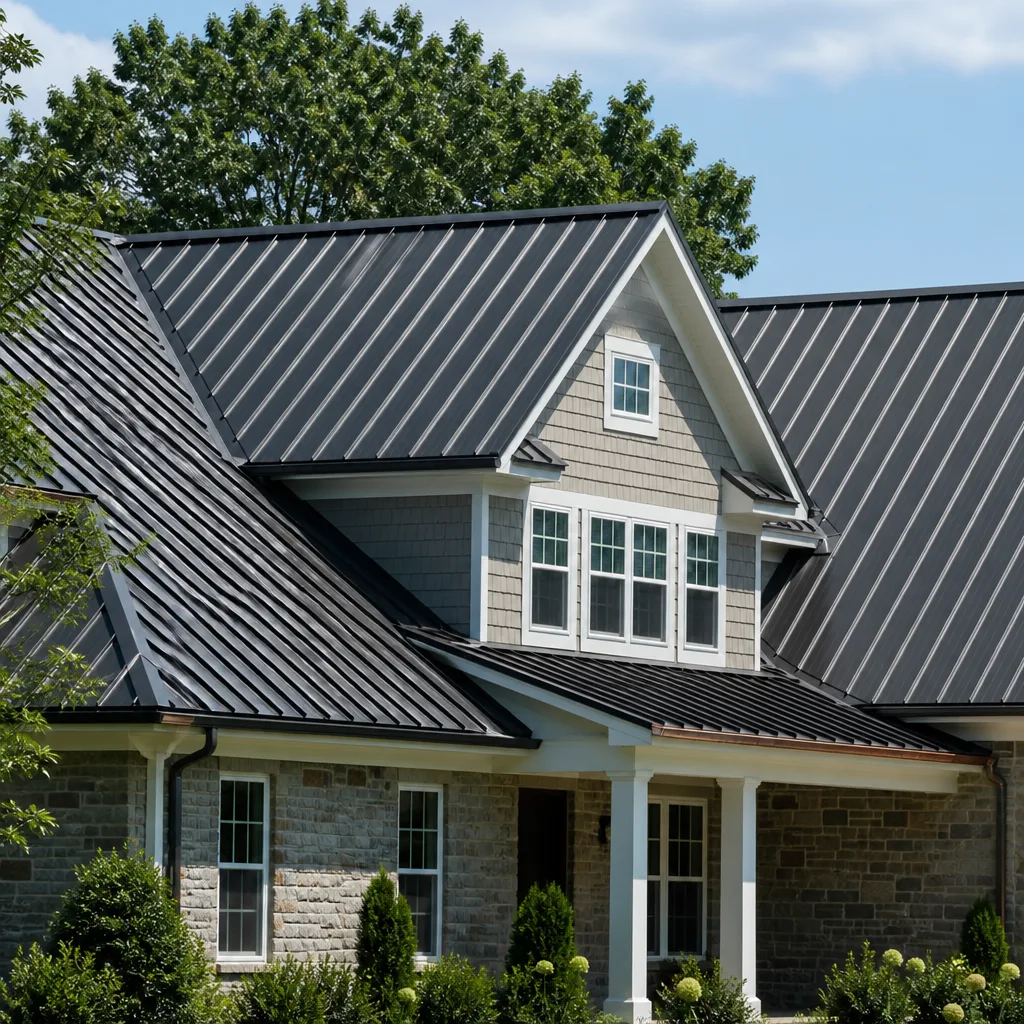 Metal roofing
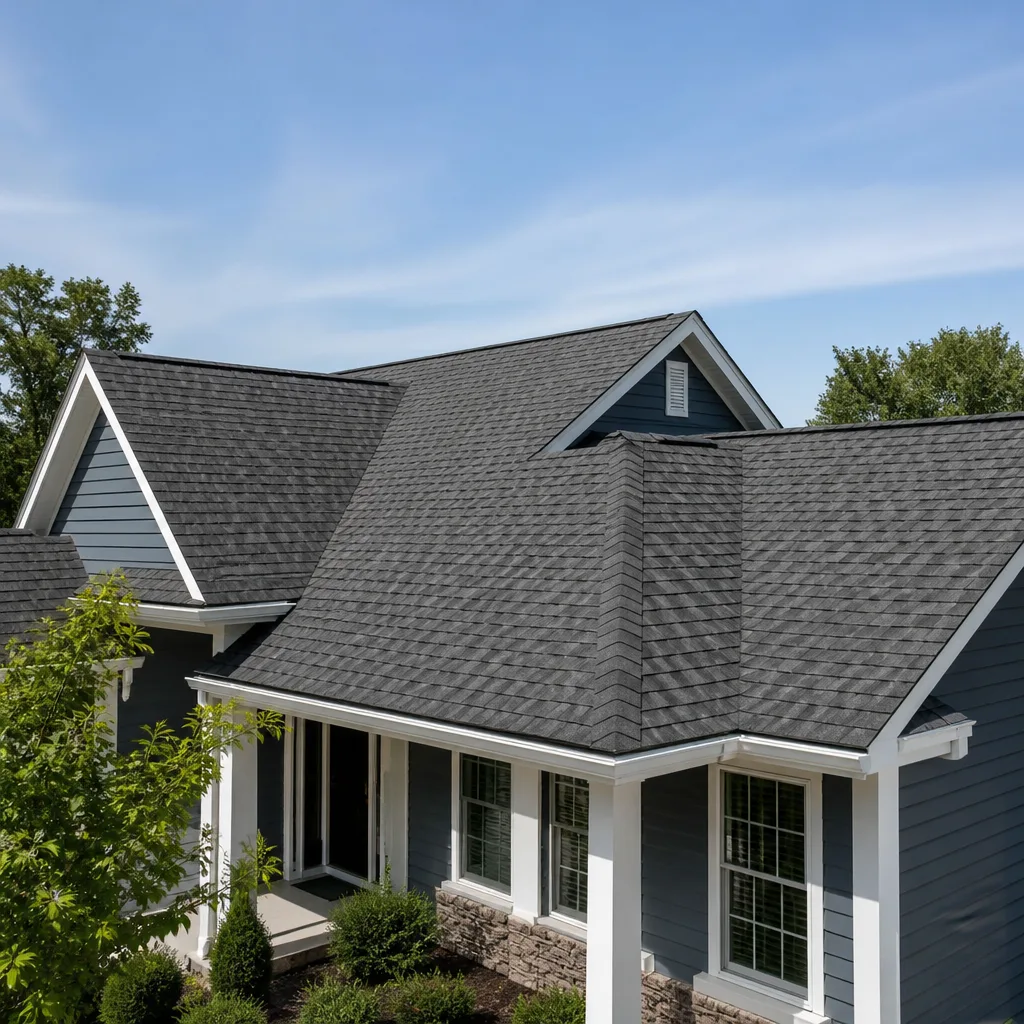 Architectural shingles
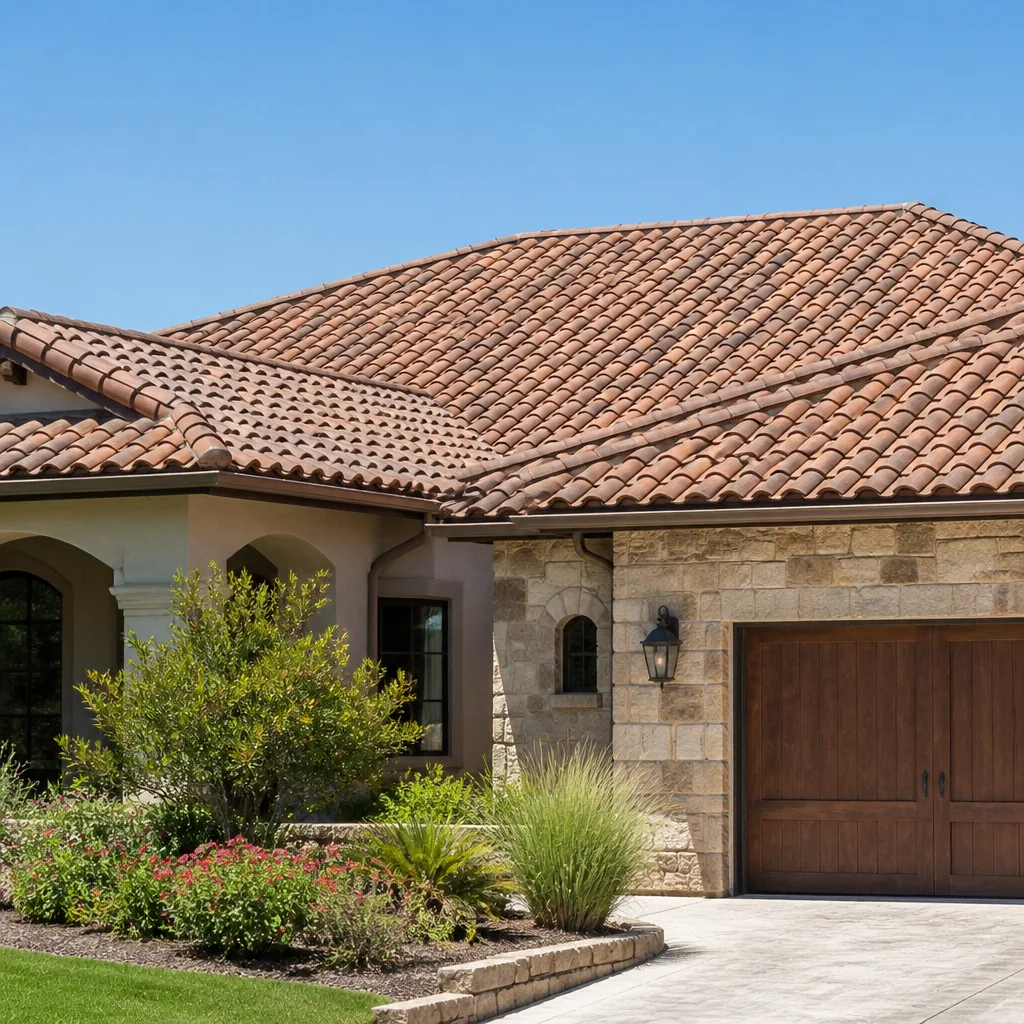 Tile roofing
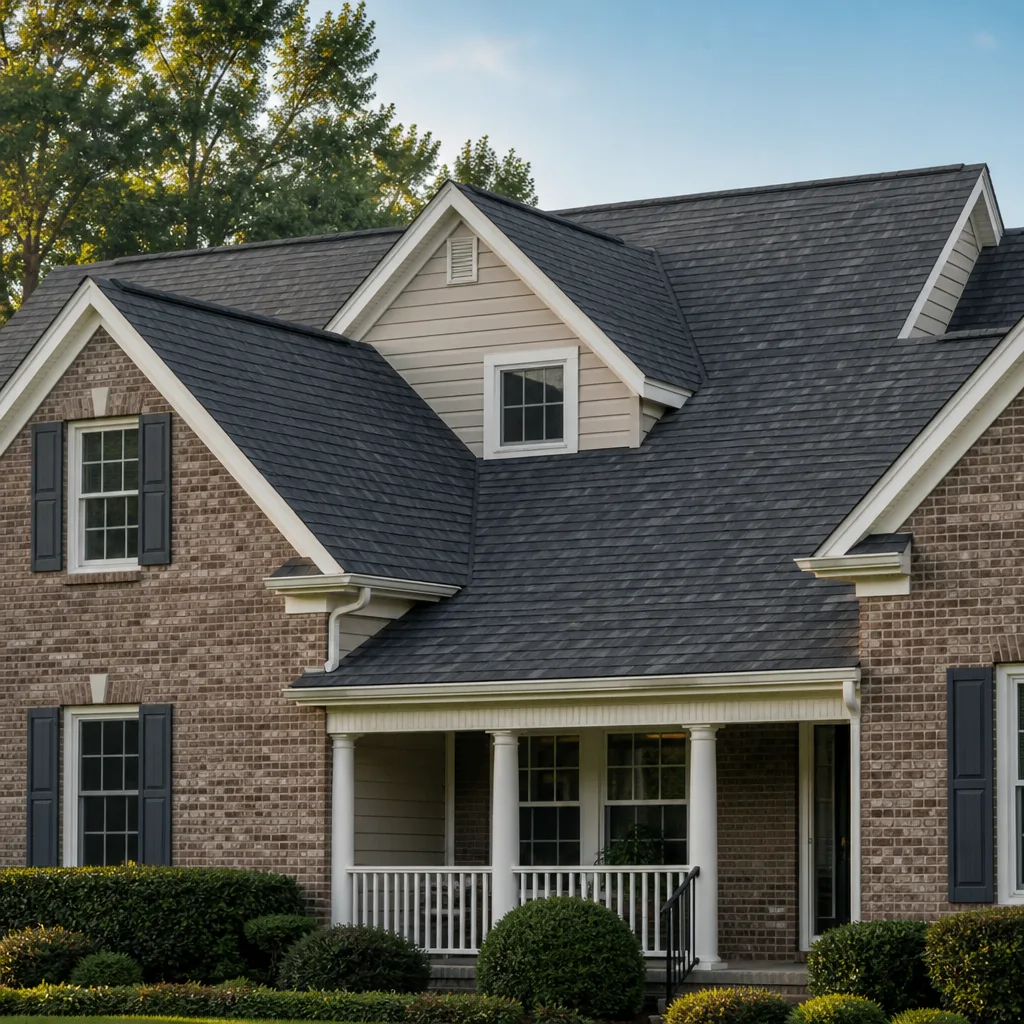 GAF
 Owens Corning
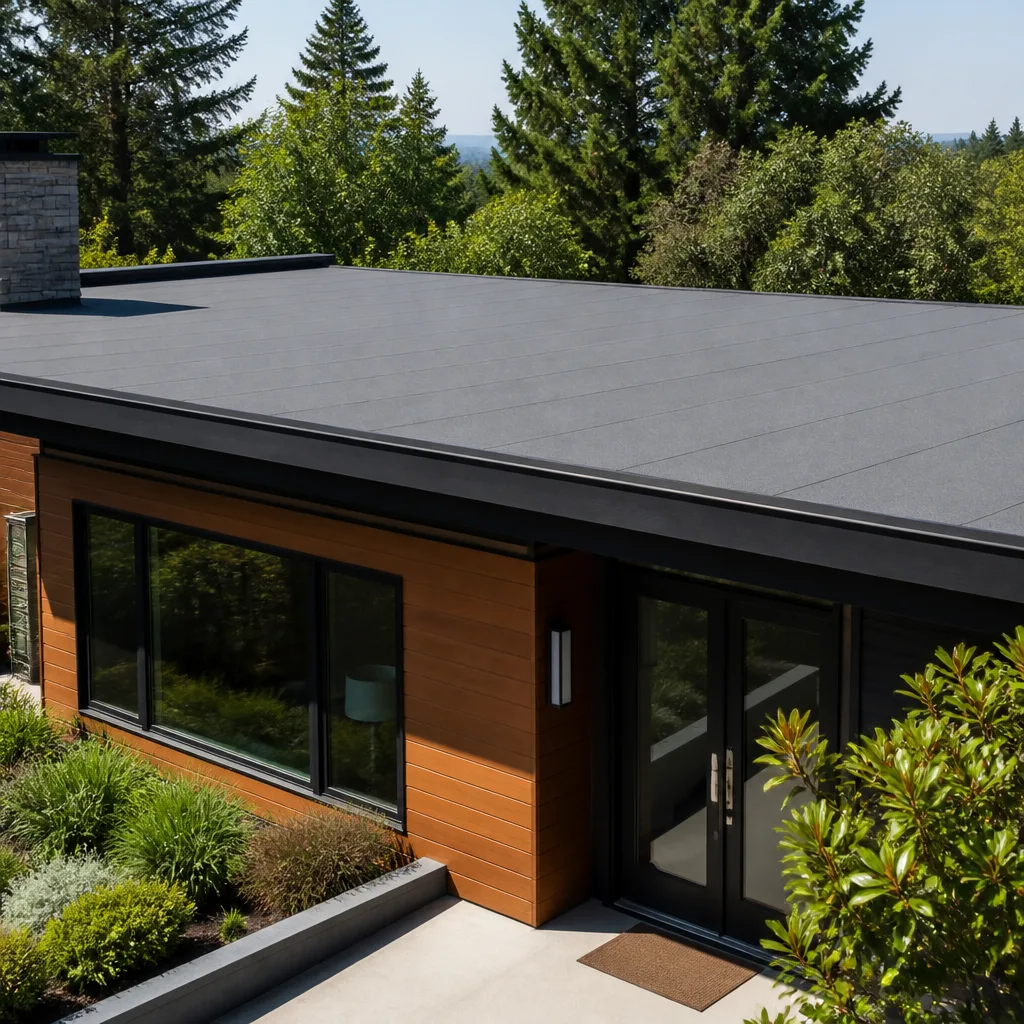 Flat & low-slope
Free roof inspection with deck photos before we talk money - GAF and Owens Corning certified installation
Roofing Emergency Preparedness Guide for Moreno Valley Homes
When Santa Ana winds knock shingles loose at 11 p.m. on a Tuesday, your ability to make good decisions in the next 12 hours depends entirely on preparation you did before that night. Because every contractor in the Inland Empire is getting calls at the same time, and the ones who answer are already booked. This guide—along with our Seasonal Roofing Care for Moreno Valley: Year-Round Homeowner’s Guide—explains how Moreno Valley homeowners can prepare for the wind events and first hard rains that actually cause roofing emergencies here, what to do in the first hour after damage, how to document everything for insurance, and how to avoid the mistakes that turn a $400 repair into a $2,000 one.
Styles & brands we work with
Quick Answer
Roofing emergencies in Moreno Valley are almost always caused by Santa Ana wind events between October and February, or by the first heavy rain after a long dry season. The prepared homeowner has three things in place before anything happens: a documented pre-storm roof condition baseline, basic emergency tarping supplies and knowledge, and a vetted contractor relationship with a company that handles both roof repair in Moreno Valley and full replacement, so scope doesn’t require switching contractors mid-emergency.
Table of Contents
- Understanding Moreno Valley’s Real Roofing Emergency Pattern
- The Pre-Season Emergency Prep Checklist
- The First Hour After Roof Damage: What to Do in Order
- How to Safely Tarp a Compromised Roof Section
- Documenting Storm Damage for Insurance: The Photo Sequence Adjusters Actually Look For
- Vetting a Contractor in Five Minutes When You Don’t Have Five Days
- Material Choices After an Emergency: What Your Options Actually Look Like
- Common Mistakes to Avoid
- When to Call a Professional
- Frequently Asked Questions
- The Bottom Line
Understanding Moreno Valley’s Real Roofing Emergency Pattern
Moreno Valley doesn’t get hurricanes. We don’t get tornado seasons or ice dams. What we get are two predictable events that most homeowners don’t connect to roofing emergencies until it’s too late: sustained Santa Ana wind events that can hit 50 to 70 mph in the foothills and through the pass, and the first saturating rain after six or seven months of near-zero precipitation. Those are the two moments when roofing contractors in Moreno Valley field more calls than any other time of year. And they’re both predictable enough to prepare for.
The wind problem is mechanical. A roof that has survived five, eight, or twelve years of normal weather has shingles with seal strips that have slowly lost their bond. Santa Ana winds hit those shingles from the same direction every event, lifting them repeatedly until the seal fails entirely. Once a shingle lifts, the one behind it becomes exposed, and the damage compounds. We’ve inspected roofs after wind events where a single raised shingle near the ridge had progressed to twenty or thirty missing shingles across the entire slope by the time the wind died down.
The rain problem is different. After a long dry season, the expansion joints in flashing, the sealant around pipe collars and chimney bases, and the caulk lines along valleys have all dried, cracked, or pulled away. When the first hard rain comes, those failures reveal themselves all at once. Most roofing emergencies in Moreno Valley following a first rain aren’t from shingle failure at all. They’re from flashing and sealant failures that have been developing invisibly for months. The homeowners who catch these before the rain are the ones who had a roof inspection in Moreno Valley during the dry season, when problems are easy to spot and cheap to fix.
What This Means for Preparedness
If you live in Moreno Valley, your roofing emergency doesn’t start when the shingle blows off. It starts the day you decide to wait and see. The sequence that plays out in our service area follows this pattern: wind event begins, shingles lift, rain is forecast within 48 hours behind the wind, and suddenly every homeowner with damage is calling every roofer in the area within a four-hour window. By the time the water is actually coming through the ceiling, the wait for a contractor can stretch to days or weeks. That’s the timeline this guide helps you avoid.
The Pre-Season Emergency Prep Checklist
Emergency preparedness is not about buying things. It’s about decisions made before anyone is in a hurry. Here’s the checklist we recommend for every homeowner in Moreno Valley who wants to be able to act decisively when wind or rain hits, and you can find more guides & resources on our blog to stay prepared year-round. Complete these items during a calm month, and the emergency itself becomes a series of steps you’ve already planned, rather than decisions you’re making under stress.
- Get a documented baseline inspection. You can’t know what changed if you don’t know what was there before. A standalone roof inspection with photos gives you a documented pre-storm condition baseline. This matters for two reasons: insurance claims are strengthened when you can show pre-existing condition, and you know which sections of your roof are weak before the storm tests them.
- Review your insurance policy’s wind and water damage coverage. Specifically, check your deductible, whether you have replacement cost or actual cash value coverage, and whether wind damage has any separate deductible or exclusion. In some California policies, wind damage carries a separate deductible percentage. Know this number before you’re filing a claim at 7 a.m.
- Identify a contractor relationship before you need one. The homeowner who calls a roofer they’ve already spoken to during an emergency is treated differently from the homeowner calling every number in a panic. When you’ve had an inspection with a company, they know your roof, they know your materials, and they can respond to your emergency with context. This doesn’t mean you’ve committed to anything. It means you have a relationship.
- Stock basic emergency materials. Keep a 10-by-20-foot tarp (minimum), a roll of heavy-duty poly sheeting, duct tape, and 1×2 wood strips or furring strips in the garage. These items cost under $60 combined and turn a helpless homeowner into one who can prevent interior damage while waiting for a contractor.
- Photograph your roof from the ground now. Take clear photos of all roof slopes, the flashing around chimneys and vents, and any existing wear. These pre-storm photos are the single most useful piece of documentation when negotiating an insurance claim after damage. They prove condition before the event.
- Clear debris from valleys and gutters before wind season. Clogged valleys direct water sideways instead of down, and Santa Ana winds will fill them with leaves and dirt. Clean valleys and gutters in October, before the wind events begin. This is the cheapest roof insurance you’ll ever buy.
The Moreno Valley wind season typically runs from October through February, with the strongest events clustering in November and December. If you haven’t completed this checklist by Halloween, you’re behind schedule.
The First Hour After Roof Damage: What to Do in Order
When a branch comes through the roof or a section of shingles peels away during a Santa Ana event, the first hour determines how much the total cost will be. Here’s the exact sequence to follow, in order, without skipping steps.
- Get everyone out of the affected room. If water is entering the ceiling, move people and pets away. A waterlogged ceiling can collapse without warning, and the weight of trapped water is heavier than most people expect.
- Contain the water from inside. Place buckets or bins under active leaks. If water is pooling on the ceiling, poke a small hole at the lowest point of the bulge with a screwdriver to release the water in a controlled location, rather than letting the ceiling fail randomly. This is the one DIY step we recommend unconditionally, because it turns a catastrophic ceiling collapse into a controlled drain.
- Document everything before you touch anything outside. Take photos and video from the ground, from every angle. Capture the damaged area, the surrounding roof, the interior damage, and any debris. Your insurance adjuster needs to see the scene as it happened, not after you’ve moved the evidence. Take more photos than you think you need. Storage is free.
- Call your insurance company and report the incident. Do this before you call a contractor, even if you plan to pay out of pocket. Reporting creates a timestamped record. Many policies require prompt notification as a condition of coverage. If you decide not to file a claim later, nothing is lost. If you wait, coverage may be.
- Call your contractor. If you’ve already established a relationship, this call is quick: describe the damage, share the photos, and schedule the response. If you haven’t established a relationship, this is when the vetting process below becomes critical. Don’t authorize work in a panic. Take five minutes and verify what matters.
- Tarp the affected area if you can do it safely. The tarping section below explains exactly how. If you can’t do it safely, don’t. A $400 emergency tarp is cheaper than the hospital bill from a ladder fall.
The homeowners who fare best after a Moreno Valley wind event are the ones who do these six steps in this order, without hesitation, because they’ve already thought through the sequence. The homeowners who fare worst are the ones who freeze for two days, then start making phone calls while water is running through the kitchen ceiling.
How to Safely Tarp a Compromised Roof Section
Emergency tarping is the single most valuable temporary measure a homeowner can take after roof damage, but it’s also where we see the most expensive mistakes. A tarp applied correctly limits damage to what already happened. A tarp applied incorrectly creates new damage and can turn a small repair into a full roof section replacement. Here’s what we’ve learned from years of walking up to DIY tarp jobs in Moreno Valley.
What You Need
- A heavy-duty tarp. Not a cheap blue tarp from the dollar section. You want at least 6-mil thickness, and the tarp should extend at least three feet beyond the damaged area in every direction. For a 10-square-foot damage area, you need a minimum 16-by-16-foot tarp.
- 1×2 wood strips or furring strips. These are what you anchor the tarp with. Never nail directly through the tarp, because the nail holes become new leak points and the tarp tears under wind load.
- Roofing nails with plastic caps. The caps spread the load and prevent the nail head from pulling through the wood strip.
- A hammer. That’s it. No need for specialty tools.
The Right Way to Tarp
- Lay the tarp over the damaged area with at least three feet of overlap on all sides. The tarp must extend past the ridge line if the damage is within three feet of the ridge. Water that runs under the tarp’s top edge will travel downhill and find the damaged section. A tarp that doesn’t cross the ridge is a tarp that channels water into the wound.
- Anchor the top edge first. Fold the top edge of the tarp over a 1×2 strip and nail the strip into the roof deck. Space nails about every 12 inches. Use capped nails to prevent pull-through.
- Anchor the sides using the same strip method. Pull the tarp snug but not drum-tight. It needs to shed water, not resist wind like a sail.
- Anchor the bottom edge last. Again with strips. Never rely on weights like bricks or sandbags. Santa Ana winds will move them, and a flying brick from a roof is a danger to anyone below.
- Inspect the tarp after the next wind event. Tarps fail. The strips pull loose, the wind catches a corner, and water finds a path. Check it after each windy day until the repair is done.
The Mistakes That Turn $400 Into $2,000
The most common DIY tarping error we see in Moreno Valley is anchoring the tarp with nails directly through the material. Every nail hole is a leak point. If you put 30 nails through a tarp, you’ve created 30 new holes in your roof. The second most common error is using a tarp that’s too small. Tarping only the visible damage means water runs under the tarp and finds the damaged area anyway. The third error is failing to cross the ridge line on upper-slope damage. Those three mistakes together can cause more damage than the original event, and they’re all avoidable.
Safety note: Tarping requires a ladder and walking on a roof surface. Roof work at night, on wet shingles, or during active wind is genuinely dangerous. Falls from roofs account for roughly 20,000 emergency room visits in the U.S. every year. If your roof is steep, if it’s raining, or if the wind is still blowing, tarping is a professional job. The money you save by DIY-tarping is not worth a broken pelvis. Call a contractor. If you’re not sure whether your roof is safe to walk, assume it isn’t.
Documenting Storm Damage for Insurance: The Photo Sequence Adjusters Actually Look For
Insurance adjusters don’t want your one dramatic photo of the branch sticking through the ceiling. They want a complete evidence file that tells the story of what happened, in what order, and what the roof looked like before. Here’s the photo and documentation sequence that makes a claim easy to approve and hard to deny.
- Wide-angle photos of the entire roof from each side. Taken from the ground. These establish the overall condition and context. Adjusters use these to understand the scope of damage in relation to the whole roof.
- Close-up photos of the damaged area from multiple angles. Get as close as you safely can from the ground. The adjuster needs to see the specific damage: lifted shingles, missing shingles, cracked flashing, exposed underlayment.
- Photos of the damage from the inside. Ceiling stains, water running down walls, wet insulation, and any visible structural damage. These photos prove interior impact, which matters for coverage of interior repairs, not just roof repairs.
- Photos of debris. The branch, the shingle pieces, the tile fragments. Where things landed. This establishes causation and can help identify whether the damage is wind-related or wear-related, which matters for coverage.
- A date-stamped video walkthrough. A phone video that pans across the roof and interior while you narrate: “Here’s the damaged section on the north slope, here are the lifted shingles, here’s the water damage in the master bedroom.” Date-stamped video is harder to dispute than photos.
- Your pre-storm baseline photos. This is why the pre-season checklist matters. When the adjuster can compare the current damage against photos from three months earlier showing an intact roof, the claim is airtight.
One specific detail that matters in Moreno Valley: the direction the wind was blowing. Santa Ana winds come from the northeast. If the damage is on the northeast-facing slope and your report says so, that aligns with the known wind pattern and strengthens the claim. If the damage is on the southwest slope, the adjuster may question whether wind caused it at all. Document the slope and direction in your notes.
Take all photos before any cleanup or temporary repair. Once you move debris or tarp the roof, you’ve altered the scene. The adjuster can still work with it, but the evidence is weaker. Document first, then act.
Vetting a Contractor in Five Minutes When You Don’t Have Five Days
Emergency situations compress the contractor selection timeline from weeks to hours. But a rushed decision costs more than it saves. Here’s the five-minute vetting process that works when your ceiling is leaking and every roofer in Moreno Valley is already booked.
- Verify the contractor’s credential number with the California Contractors State License Board. This takes 90 seconds online. Anyone who hesitates to provide a license number fails immediately. In California, roofing work over $500 requires a C-39 license. This is not optional, and working with an unlicensed contractor voids most insurance coverage and exposes you to liability if someone gets hurt on your property.
- Ask one question: “What’s your scoped repair plan?” A qualified emergency roofer responds with a sequence: tarp first to stop the water, inspect after the tarp to assess full damage, then provide a written scope and cost. Anyone who gives you a firm repair price without inspecting the roof is guessing, and the guess is rarely in your favor.
- Ask for their affiliation with roofing material manufacturers. A contractor authorized to install CertainTeed, Owens Corning, or GAF products has passed those manufacturers’ credentialing and training requirements. This is a meaningful quality signal because the manufacturers don’t authorize just anyone. At Moreno Valley Roof Repair, we’re authorized to install and supply materials from seven manufacturers, which means we can match your emergency repair to the right material rather than whatever is on the truck.
- Confirm the emergency protocol: tarp now, scope later, written quote before repair work begins. This prevents you from being rushed into a full replacement when a repair would solve the problem. A contractor who pushes for immediate replacement during an emergency before inspecting the damage is signaling that they prioritize their revenue over your roof.
- Ask who will be on the roof. In a time-pressured situation, some companies subcontract to crews they’ve never worked with. You want a company that sends its own people. At Moreno Valley Roof Repair home, every job from inspection through final installation is handled by our crew, with a single point of contact. No subcontractors, no passing the job off.
Five minutes of verification can save you from a bad repair that requires a second, more expensive repair. The roofers who survive in Moreno Valley long-term are the ones who don’t take shortcuts under pressure. The ones who do take shortcuts are gone in two years, and they’re not around to honor any warranty.
Material Choices After an Emergency: What Your Options Actually Look Like
When a roof emergency forces a repair or replacement decision, most homeowners assume they’ll just get whatever material the contractor recommends. But the material decision matters, and it matters more when you’re making it under pressure. Here’s how material options break down for Moreno Valley homeowners, based on the climate realities that actually affect roof performance here.
Moreno Valley heat is intense and sustained. Summer temperatures regularly exceed 100 degrees for weeks. UV exposure is high year-round. Santa Ana winds are abrasive and persistent. The first rain after a dry season tests every sealant, every flashing joint, and every shingle bond. Some roofing materials handle these conditions better than others, and the difference is measurable in lifespan, not just warranty terms.
Premium architectural shingles from manufacturers like CertainTeed and Owens Corning carry wind warranties up to 110 to 130 mph when installed with the full system from the same manufacturer. These shingles use reinforced nailing zones and stronger sealants that hold up better during Santa Ana wind events. They also reflect more solar radiation, which matters in a Moreno Valley summer.
Mid-range shingles from brands like IKO and Atlas offer solid performance at a lower price point. The difference is primarily in the thickness of the shingle, the strength of the sealant, and the warranty backing. These materials are not inferior. They’re a different value proposition, and for many Moreno Valley homes, a mid-range shingle with a proper installation will perform comparably to a premium shingle for the first 15 years.
The point is that you have options. A contractor who works with multiple brands can match material to your budget and your roof’s specific exposure. A contractor locked to one brand can only sell you that brand. At Moreno Valley Roof Repair, we’re authorized to install and supply materials from seven manufacturers including CertainTeed, Owens Corning, IKO, Atlas, and others. When we recommend a material after storm damage, it’s because that material is right for your roof, not because it’s the only option we carry. Whether you’re looking at Owens Corning Duration or IKO Dynasty, we install both, and we’ll tell you the real difference. That matters more in an emergency than almost anything else, because a wrong material decision today compounds for the next 20 years.
Common Mistakes to Avoid
- Waiting to call until water is coming through the ceiling. By the time water reaches the ceiling, it has already saturated insulation, damaged drywall, and potentially compromised structural members. Interior damage is always more expensive than the roof repair that would have prevented it. Moreno Valley homeowners who call during the first sign of roof trouble spend far less than those who wait for visible interior damage.
- Tarping with a cheap tarp and no wood strips. A thin tarp nailed directly through the material creates new leak points and tears within days. You’ve spent an hour on the roof and accomplished nothing except adding holes. The materials for a proper tarp cost under $60. There’s no good reason to do this wrong.
- Authorizing a full roof replacement before anyone has inspected the damage. Some storm damage requires replacement. Most doesn’t. A contractor who quotes a full replacement without an inspection is guessing at best and upselling at worst. Get the tarp, get the inspection, get the written scope, then decide.
- Skipping documentation because “the insurance company will send someone out.” The adjuster may not arrive for days or weeks. By then, wind and rain have altered the scene, temporary repairs have been made, and your evidence is gone. Your photos are your claim. Take them.
- Walking a roof at night or during active wind to inspect damage. Roof surfaces are dangerous in the best conditions. At night, after a storm, or during Santa Ana gusts, they’re lethal. A fall from a single-story roof can kill you. Let a professional with proper safety equipment do the inspection. Your roof is not worth your life.
- Choosing the cheapest contractor because they’re available now. The contractor who answers the phone during a storm is sometimes the one with no other work, and there’s a reason. Yes, you want the tarp up fast. But five minutes of license verification and basic vetting prevents a bad repair that costs more to fix than the original damage.
- Assuming insurance will cover everything. Many Moreno Valley homeowners discover after filing that their wind or water deductible is higher than the repair cost, or that pre-existing wear reduced the payout. Review your policy during the pre-season checklist so you know your real coverage before you file.
When to Call a Professional
Some roofing situations are within a homeowner’s capability. Most are not, and knowing the line is what prevents injury and additional damage. Call a professional roofer when the damage involves structural components, when the roof slope is steeper than a 4:12 pitch, when the damage area is larger than a single shingle or two, when water is entering the interior, when the roof is wet or the wind is still blowing, or when you simply don’t know what you’re looking at. The cost of a professional emergency response is always less than the cost of a fall plus the repair plus the interior damage that happened while you hesitated. Moreno Valley Roof Repair offers free estimates in Moreno Valley, and our roof replacement in Moreno Valley work comes with a written scope before any work begins. Call (866) 217-3967 and we’ll help you assess the situation honestly, even if the answer is that you don’t need us yet.
Frequently Asked Questions
Emergency roof repair in Moreno Valley typically ranges from $350 to $1,200 depending on the extent of damage, with tarping alone typically costing $200 to $450. The final repair cost depends on the number of shingles, the flashing condition, and whether underlayment replacement is needed. Call (866) 217-3967 for an exact quote after a quick inspection, and estimates are free.
A properly installed tarp can protect a roof for 30 to 90 days, though we recommend scheduling the permanent repair within two to three weeks. Tarps degrade under Moreno Valley sun, and Santa Ana winds will eventually find a loose edge. The tarp is a bridge, not a solution.
Most homeowners policies do cover wind damage, but many California policies carry a separate wind deductible that’s higher than your standard deductible. Some policies exclude wind damage entirely in high-risk zones. Review your policy’s wind section during the pre-season checklist so you know your exact coverage before you need it.
Replacing a few shingles is possible for a careful homeowner with proper safety equipment and experience, but most DIY shingle replacements fail because the homeowner doesn’t understand sealant activation, nailing patterns, or slope safety. If you’re asking whether you can do it, the safer answer is to call a professional. A proper repair from Moreno Valley Roof Repair costs less than a failed DIY repair plus the water damage that follows.
A professional roof inspection is the only way to know for sure. The decision depends on the roof’s age, the extent of the damage, the condition of the underlayment, and whether the shingles can still be sourced and sealed. In our experience, most Moreno Valley storm damage calls result in a repair recommendation, not replacement. The roofs that need replacement are usually already at or past their expected lifespan, and the storm has revealed what was already failing.
Architectural shingles from CertainTeed or Owens Corning carry wind warranties up to 110 to 130 mph and perform well under sustained Moreno Valley heat and UV exposure. Mid-range options from IKO and Atlas offer solid performance at a lower cost. The right material depends on your home’s exposure, your budget, and how long you plan to stay. A brand-agnostic contractor can compare options honestly; a single-brand contractor can only sell what they carry.
The Bottom Line
Roofing emergencies in Moreno Valley are predictable, which means they’re preventable. The Santa Ana wind season starts every October. The first hard rain follows every long dry season. The homeowners who spend the least and recover the fastest are the ones who completed their pre-season checklist, documented their roof’s condition, established a contractor relationship, and know exactly what to do in the first hour after damage. You don’t need to become a roofer. You need to become a prepared homeowner. Get an inspection before the wind arrives, review your insurance, stock the tarp kit, and save your contractor’s number. When the wind comes, and it will, you’ll be ready to act instead of panic. And if the time comes before you’ve prepared, call (866) 217-3967. We’ll help you figure out what your roof actually needs before you spend a dollar on repair or replacement.
Written by the team at Moreno Valley Roof Repair, serving Moreno Valley since 2013.
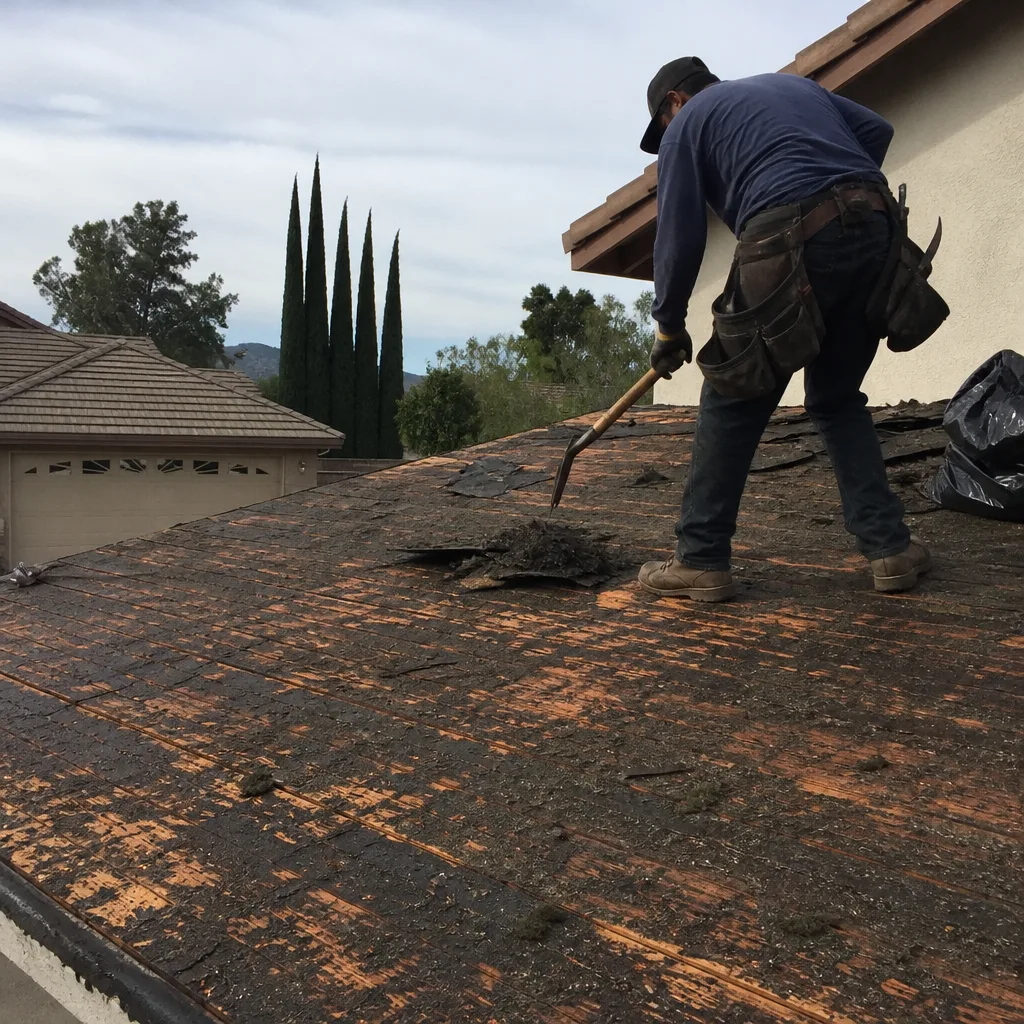
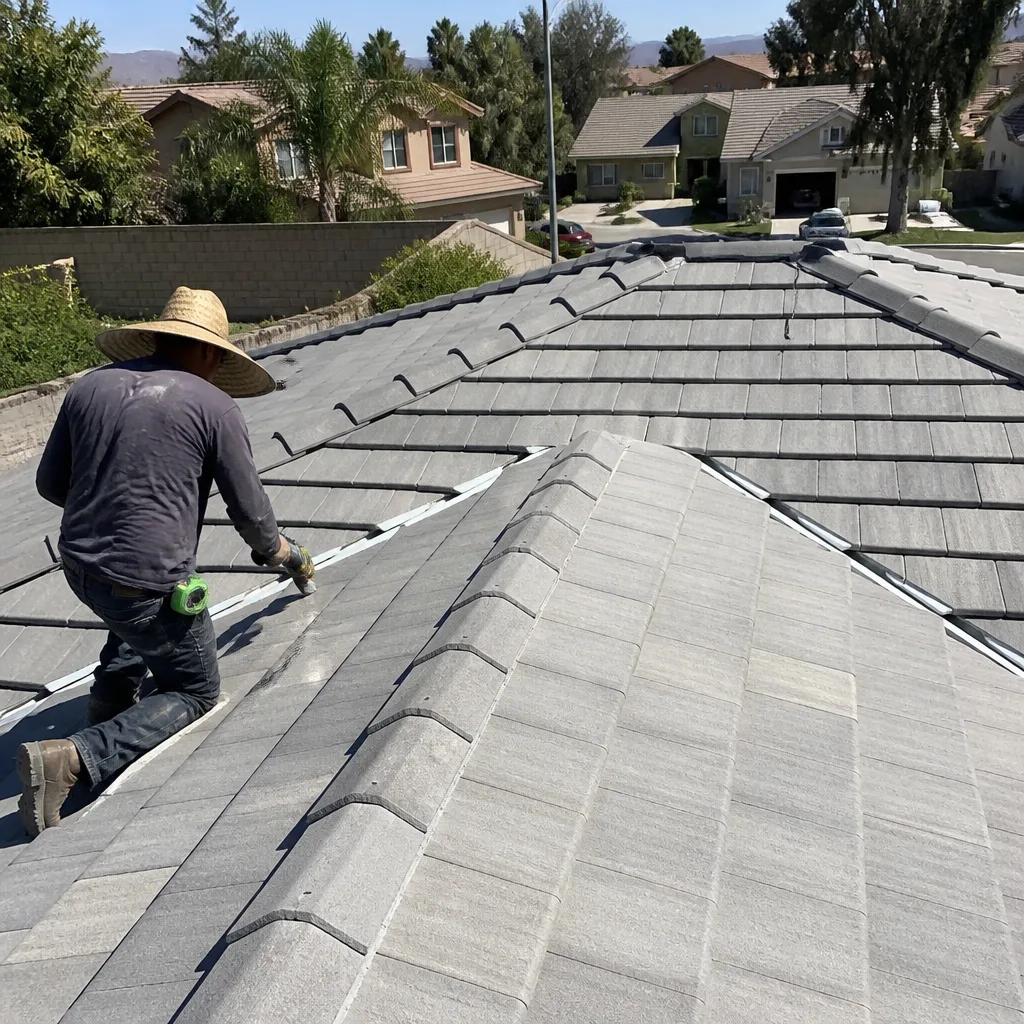
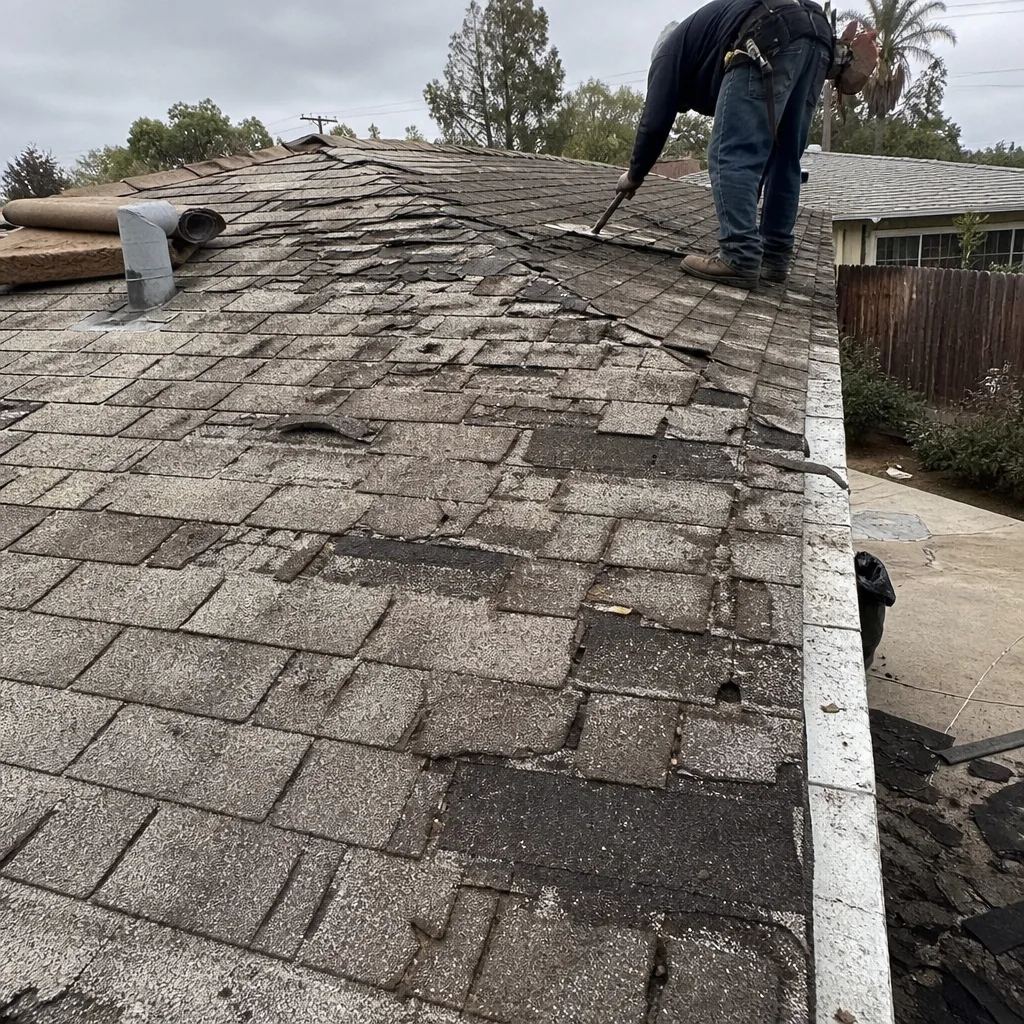
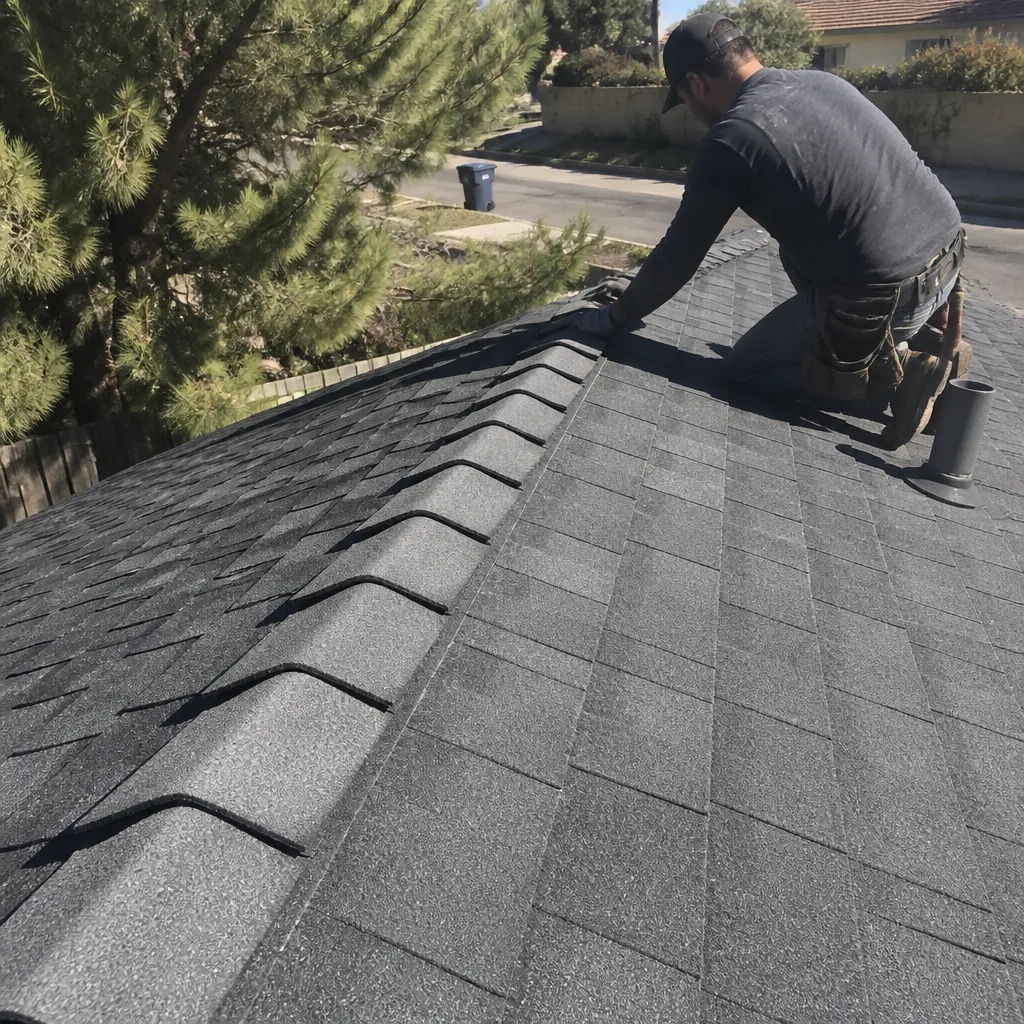
See the difference
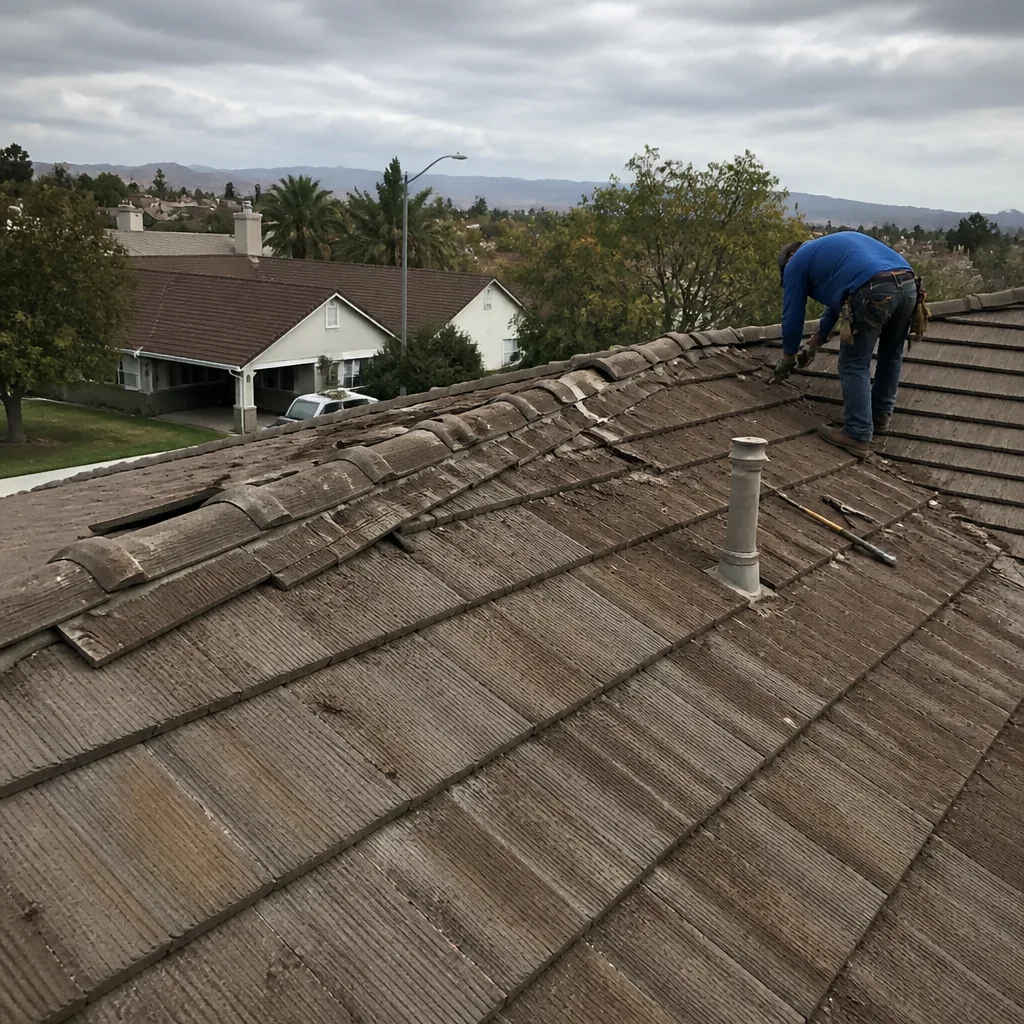 Before
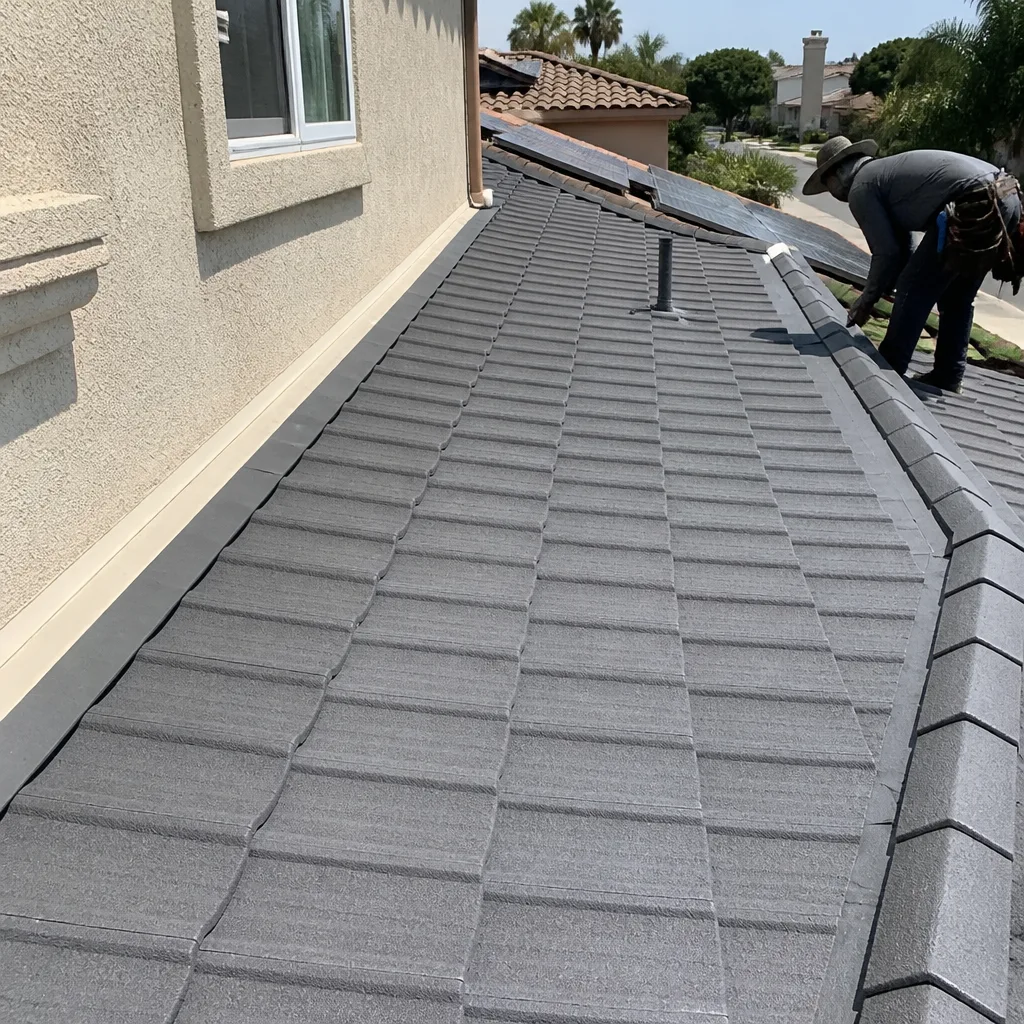 After
 Before
 After
 Before
 After